Monday, October 27, 2014

Apologies

Well, the long-awaited post is here...as an apology.  The past few weeks have been horrendously busy, and thus no blog posts!  And unfortunately, things are just going to get worse...

In good news, I got a job (yay!!!), but that means that my blogging time (and time for doing things worth blogging about) is going to decrease tremendously.

My plan is to write at least 1 post a week, and I'll be abandoning the nice "schedule" of posts that I was following.  That's not completely a bad thing though, as I wouldn't have much gardening to talk about anyway!

I hate change as much as the next person, so again I apologize for neglecting this blog (and continuing to do so for the foreseeable future), but hopefully this change will be a good one!

It is Khatadyn's birthday this week, so I thought I'd share his picture.

Wednesday, October 15, 2014

Knitting Pattern #8: Seed Stitch Buttoned Earband

Well I don't know what has gotten into me lately, but I keep forgetting about the blog!  (Okay, I've had a few weeks with good excuses...I was prepping for an interview last night!)

Anyway, not much is happening fiber-wise around the farm (I did go to a fiber fest last weekend as a vendor, but I forgot my camera!), so here's yet another knitting pattern!  I'll do another ear band...

This ear band works best with the worsted/aran weight spiral plied handspun yarn from my Etsy shop.


Seed Stitch Buttoned Earband


Women’s Small/Medium (easily adjusted for other sizes)

Aran weight yarn (Worsted may also work): 50-60 yards
#8 needles
2 buttons

Gauge: 12 sts & 18 rows = 4” in stockinette

Cast on 13 stitches

*k, p*6x, k
Repeat for 1.5”

k, p, k to last 2 stitches, p, k
k, p, k, p to last 3 sts, k, p, k
Repeat last 2 rows for 17”

*k, p*6x, k1
Repeat 5 more times (6 times total)

k, p, k, k2tog, yo, p, k, p, yo, ssk, k, p, k

*k, p*6x, k
Repeat 3 more times (4 times total)


Bind off
Weave in ends and attach buttons

Enjoy!

Now available on Ravelry!!

Thursday, October 9, 2014

Fertilizing the Pasture

You'd think that now that we're done building the new pasture I could sit back and relax...but no!  There's always something to be done on the farm!

The big chore last week was getting the old pasture fertilized.  Technically it probably didn't need to be fertilized, as I had the soil analyzed last summer and they said it was fine, but the grass wasn't growing as much as I'd like so I figured it couldn't hurt.

Using the wagon to haul lime around the pasture.

The hardest part of the process was choosing which fertilizer to use!  With grazing livestock, you obviously have to be careful about what you use since the animals could potentially eat it!  I was going to use a lawn fertilizer, but they are designed to be slow-release (over 2-3 months), and I didn't have that long to wait before putting the llamas back on the pasture.  I ended up going with an organic garden fertilizer, which was 4-3-2 (% nitrogen-phosphorus-potassium).  It was basically composted chicken manure, mixed with a few other organic ingredients.  The downfall of organic fertilizers is that they don't have as much concentrated nutrients as inorganic fertilizers, but they are a lot safer.

I ended up applying 30 pounds of the fertilizer to a roughly 1/2 acre pasture.  It was pelletized, so I got to use the hand-crank grass seed spreader that I bought this spring.

I also wanted to lime the pasture.  Again, the pH tested just fine, but I've read that an abundance of moss and clover indicates that the soil is too acidic, and I have tons of both!  I also figured it couldn't hurt.  I ended up buying 150 pounds of pulverized lime.  I had to spread this by hand (or by cup rather), as it wouldn't work in the spreader.

Moss and clover in the pasture.

My lime-delivery system.

In the grand scheme of things I probably didn't add much to the soil, but it certainly can't hurt.  Hopefully having better management next year will help the pasture too!

You can definitely see where the lime was!

After I was done I watered the pasture for about an hour (in a few different spots).  It also rained nicely the next day (very light, no downpours).  Even a week and 2 rainfalls later you can still see the lime on top of the grass!

Watering the pasture.

Tuesday, October 7, 2014

Knitting Pattern #7: Slip Stitch Earband

I'm really not the most creative person in the world.  Some people may think that the fiber art work that I do makes me creative, but in some ways not really.  I am terrible at being creative at words...I can never come up with cool names for my yarns or knitting patterns!

As I opened up the Word document with this knitting pattern, in preparation for writing this post, I realized how lame the pattern name was!  Fortunately (or unfortunately, depending on how you look at it), the name wasn't already used for a pattern on Ravelry, so the lame name is staying!  Of course, if you have a better suggestion I'd love to hear it!

A lot of the yarn that I spin is multi-colored or self-striping, and not every knitting pattern out there is ideal for that type of yarn, so I wanted to be sure to design a few patterns that would look gorgeous with those yarns.

A gorgeous self-striping merino/tencel handspun yarn.

I love slip-stitch patterns...they look complicated but are actually very simple to knit.  And paired with multi-colored yarn they can take a simple project to a new level!

Thus I introduce my slip stitch earband!  A very simple design and pattern, but gorgeous when knit with a unique handspun yarn.


Slip Stitch Earband


Women’s Small/Medium (easily adjusted for other sizes)

DK weight yarn: 80 yards
#6 needles
1 button

Gauge: 19sts & 26 rows = 4 inches in stockinette

Cast on 7 stitches

1.  *k, p*3x, k
2.  *p, k*3x, p

Repeat rows 1&2 for 1.5”

3.  k, m1 *p,k* to last stitch, m1, k
4.  p2, *k, p* to last 2 stitches, p2
5.  k, m1 *k, p* to last 2 stitches, k, m1, k
6.  *p, k* across

Repeat rows 3-6 until you have 19 stitches, and then work rows 3-4 one more time (21 sts total)

Knit 1 row

Begin pattern stitch
7.  (WS) p
8.  k *sl 1 wyib, k3*
9.  *p3, sl 1 wyif* p1
10.  k1 *drop slipped stitch off needle to front, k2, pick up stitch and knit, k1*
11.  p
12.  k5 *sl 1 wyib, k3*
13.  *p3, sl 1 wyif* p5
14.  k3 *slip 2 stitches wyib, drop slipped stitch off to front, slip the same 2 stitches back to left needle, pick up dropped stitch and knit, k3* k2

Repeat pattern stitch for 14.5 inches

Purl 1 row

15.  k, p2tog *k, p* to last 3 stitches, p2tog, k
16.  *p, k* to last stitch, p
17.  k, p2tog, *p, k* to last 4 stitches, p, p2tog, k
18.  p, k2 *p, k* to last 4 stitches, p, k2, p

Repeat rows 15-18 until 9 stitches remain, and then work rows 15-16 one more time (7 sts)

19.  *k, p*3x, k
20.  *p, k*3x, p

Repeat rows 19-20 a second time

21.  k, p, k2tog, yo, k, p, k
22.  *p, k*3x, p
23.  *k, p*3x, k

Bind off
Weave in ends and attach button

As always, please let me know if you find any errors in my patterns.  I'm new to designing patterns, and far from perfect!

Now available on Ravelry!

Friday, October 3, 2014

Big E Recap!

Well I was all set to write a blog post last night, and then completely spaced it!  So here you go, just a day late...

The reason I didn't post last week was because we were at the Big E!  This is one of the two llama shows that is relatively close to us, so of course we had to go!  We left Thursday afternoon and got back home Sunday evening.

Our stall display and a very wet Kara.

I was worried about getting checked in late (we couldn't check in at the show until 5 pm) and not having enough time to get everyone washed Thursday evening, so the boys got their baths before we left.  Kara didn't show in halter until Saturday morning, so I washed her at the show Friday afternoon.

Wet llama!

Luckily this fairgrounds was more organized, although we did have to drive about 10 miles away to park the trailer!  Really makes me miss the simplicity of all the Midwest shows we used to go to.

Friday was the first official day of the show.  T and I showed in the very first class (Advanced Adult Showmanship) and got 3rd with some great competition.  A few hours later he placed 2nd in his halter class (Non-Breeder Adult), and personally I think he got robbed!  But oh well, I'm pretty sure he already has all the ILR-SD halter awards he can get.  Everyone showed in Novice Pack Friday afternoon as well.

My handsome boy T.

Saturday was Kara's day to shine.  We started off the day with her halter class (Medium Wool 2-yr-old Female), and she won!  Sure, there were only two in the class, but she looked great and the judge said lots of nice things about her.  I was really hoping she'd get Reserve Grand Champion again, but the championship class was really tough.  We also got to go back in for Best Bred & Owned Female (you have to qualify at this show to enter the class), but they only place one animal and she didn't win.  Not terribly surprised though.  Everyone also showed in Novice Public Relations and Obstacle, but no placings there either.  The performance competition was stiff!  Late in the evening T and I went back for Ground Driving, and he got 2nd!

T and his ribbons.
Overall it was a fun weekend!  I got to hang out with some great people and love on some gorgeous llamas!  I'm sad that the show season is over so quickly!

Kara and Ralph were hot!

Saturday, September 13, 2014

End of the Garden

Well unfortunately I think this week is going to be the end of the garden...  The weather has turned quite chilly, and there is even the forecast of frost next week!  And of course I'm going to be out of town, so I don't think I'll be able to get any of the plants protected...

I thought I'd give a re-cap on how things grew.

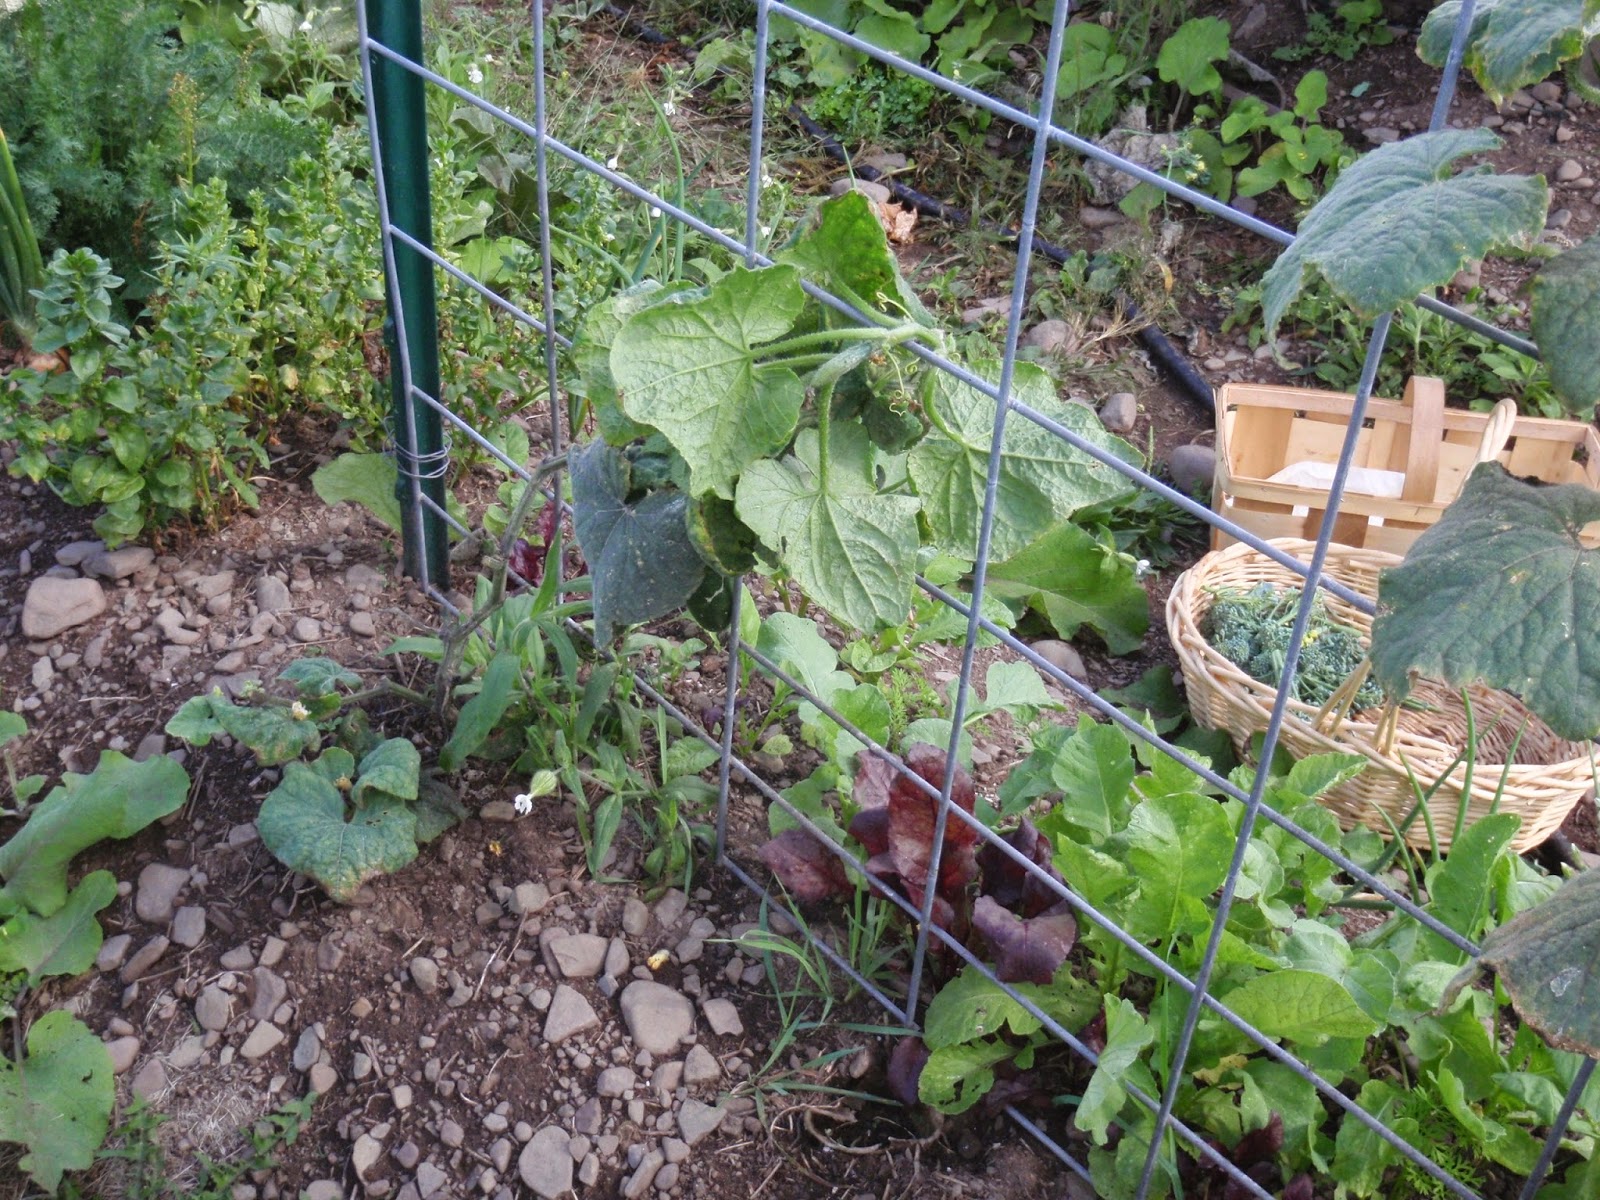
First up are the cucumbers.  I guess it was a bad year for cucumbers all around, so I don't feel terrible about their bad production.

The "tender green" cucumbers did terrible!  I planted 3 plants, and 2 died within a few weeks.  The one remaining plant hardly gave any fruit.  Definitely won't plant it next year!


Next up is the "market more" cucumber.  It did better, but still not great.  Production was pretty good though.


The "national pickling" cucumber was the best overall.  Biggest plants and best production.


And last but not least, the "straight 8" cucumber.  Decent production but small plants.


Next were the squash.  I planted 3 plants of each type, and honestly they did about the same.  The first one was "success PM yellow straight neck".  Overall these plants did better.


The other type was "yellow crookneck".  I eventually lost one of these plants, and another never seems to bear fruit, but the last one produces a ton!  Surprisingly there are still tons of new baby squash fruits on the plants, hopefully they will have time to mature.


Now to the big guns...the tomatoes!  First up is the "yellow perfection".  These are heirlooms, but they probably performed best in terms of production.  They did eventually get late blight, but they are still going strong.


The pathetic looking plants on the right are "homestead" tomatoes, another heirloom.  Huge fruits, but they did terrible.  Definitely won't be planting them again.


The huge success was "matt's wild cherry" tomato.  They may have contracted one of the wilt diseases, but the plants are huge and produce quite a bit.


And the biggest disappointment, "iron lady" tomatoes.  They were supposed to be blight resistant, but they got it anyway.  And they plants were tiny.  They have produced a surprising amount of fruit, but nothing compared to some of the others.


My pepper plants were a joke...I've gotten a few decent-sized fruits, but all have holes from insects.  Not sure if I'll bother next year.


And last but not least...the last stuff to start in the garden!  I think I may have pushed the envelope a bit with these, especially considering the recent cold snap, but I started another batch of radishes, carrots, and beets a few weeks ago.  They're coming in nicely.  I also planted some lettuce and spinach a couple days ago...wonder if they'll grow at all!


Thursday, September 11, 2014

Indoor Obstacles!

One of the frustrating things about living in upstate NY is the short training season...  Luckily it is typically cool enough in the summer to do training (not so in IN!), but once December hits the obstacle course is covered in snow.  I decided to fix that...I built an indoor obstacle course!

Actually, I built the indoor course because I had a few obstacles that I didn't want sitting out in the sun all year.  But I quickly realized that there are other benefits!

First up is several unusual surfaces to walk over.  From left to right: a leftover piece of foam insulation, a trash bag, part of a shower curtain, and some foam pool noodles.


Next is a step over/jump.  It is actually a leftover roll of fence.


Last but not least is the tunnel.  After the NY State Fair, I knew I desperately needed a tunnel.  I haven't had one in several years, so even Ralph is unaccustomed to going through one.  Luckily there are lots of posts in our barn, so I wrapped some heavy twine between two posts and the wood cattle stanchions.  Next I draped a tarp over the top.


On one side I attached a shower curtain.  I had to cut the bottom off so it didn't drag the ground, and I slit the curtain in several places.


On the other side I attached a few foam pool noodles.  I need to get some bells to hang on one of the ends too.


Just a day or two after I set up the indoor course I had all 3 lamas going through it.  Their reactions were quite surprising.  For some reason T absolutely refused to do any of it, at least the first time.  The second time (a couple days later) he was only nervous about the tunnel.  We still need to work on that.  Kara was amazing with the tunnel, her issue was the unusual surfaces.  But it only took 2 passes and she was over her fear.  Of course Ralph was awesome about everything!

From now until the next show (the Big E, the last weekend of September), my main focus is ground-driving T.  He has good moments and bad, I may end up scratching but I figure I might at least try!