Thursday, June 27, 2013

Llama Biography #10: Autumn Hill's Catanna

We have actually made some progress on the fence (got 3 more corners put in!), but I don't have any pictures to show for it, so I thought I'd do another llama biography.

In June 2002, exactly 2 weeks after Autumn Hill's Charity was born, SHAG Cattera had her second baby.  Going along with our farm name and "Cat" theme for Cattera's babies, my sister named her Autumn Hill's Catanna.  Catanna was born over 2 weeks late, and was the biggest baby on our farm to date, starting out at 34 pounds!  Catanna is sired by the gorgeous Bauernheim's Showdown, a champion show llama owned by Shagbark Ridge Llamas.

Newborn Catanna.

Catanna was an especially sweet baby, just like Charity.  They were best buds, and it was funny seeing them together, as Charity was 2 weeks older but much smaller than Catanna.

Catanna at 4 months old.

Charity and Catanna even attended their first show together, the North American International Livestock Expo. in Louisville, KY.  Catanna was just old enough to show...she turned 5 months the day of the show!  She did very well for her first time, winning several ribbons with my sister in performance.  Catanna went on to be shown by my sister in 4-H and ALSA shows for a couple of years, and I even showed her occasionally.  She never really liked being shown, but she did respectfully well.

Catanna and my sister at her first show.

Catanna at the 2003 Western Ohio Triple Crown.

2003 Indiana State Fair.

2003 NAILE.

Catanna and I at the 2004 Southwest Ohio Llama Show.  She was Grand in halter!

Catanna and I at the 2004 Great Lakes Regionals.

Catanna was the first llama that my sister taught to kush (lay down on command), so she became the focal point of several pictures that year!

This was a Christmas card one year.

This has won several photo contests.  And yes, she was actually watching the TV!

When Catanna turned 2.5 yrs old, we decided it was time for her to become a mom.  She was bred to the famous Tuna Catcher (then owned by Mark Smith Farms, now deceased), and had the most gorgeous little grey male, which we named Autumn Hill's Khatadyn.  Khatadyn was sold before he was weaned, and went on to become an ALSA Halter Champion!

Khatadyn at 4 months old.

Catanna had a uterine prolapse when Khatadyn was born, so we decided to give her a year off before rebreeding her.  During her "break", I decided she should get back in the show ring.  By this time Catanna had really put on the pounds, so she didn't place as well in halter as she did as a cria.

Catanna and I at the 2006 Ohio State Fair.  She was huge!

After a year, we decided to breed Catanna to our new male, MRLF Ridge Runner.  Shortly after she was bred, the man who bought Khatadyn also purchased Catanna, and she moved to Tennessee to be with her son.  A year later, she delivered an adorable little paint male.  Unfortunately, she had another uterine prolapse, and the owner decided to retire her from breeding.  She still lives on his farm, and has a great home!

Catanna as a yearling.

Friday, June 21, 2013

From Llama to Lovely Yarn...A Processing Tale

After hemming and hawing about starting to process and spin Kara's fleece, I finally got around to it!  And once I started I just couldn't stop!  Kara's fleece from 2013 was sold in our farm's new CSA (community-supported agriculture) program.  Buyers could choose to receive raw fleece, carded batts, or handspun yarn.  Ralph and T's fleeces were sold raw through this program too, but Kara's was sold as handspun yarn.

Beautiful little Kara.

The story starts back in May when I went home to groom and shear llamas.  Over several days, I carefully brushed Kara out, eventually washing her and then shearing her by hand.  Her fleece was absolutely gorgeous!  The full blog post about shearing Kara is here.

Kara all groomed out, before shearing.

A few weeks later, I got around to carding the raw fiber in preparation for spinning.  It took me a couple of hours to card it all on my small drum carder.  The buyer wanted the colors mixed, so I would just pull random hand-fulls of fiber from the bag and add it to the carder.

Carding Kara's fleece.

Next, the big task...spinning!  The yarn was to be spun as a worsted weight, which is a bit thicker than I have been spinning recently.  My carding preparation wasn't perfect (it is hard when working with 7-8" long fiber!), so the yarn has a bit of texture.  I spun all the singles, and then plied.  I ended up with 4 skeins, totaling about 450 yards (I think!).  I love how the yarn turned out, the color is very tweedy and gorgeous.

Single ply yarn.

Plied yarn.

Last came washing...  Kara was washed before shearing, but I had no idea how much dirt could be left in the fiber!  As I spun, tons of dirt came flying out, so I knew the final yarn would need a lot of washing.  I think I washed the yarn 4 times in hot soapy water, followed by 3 rinses.  It was worth it though, the finished yarn is extremely soft and the color is gorgeous!

Rinsing the yarn.

Drying the yarn.

Beautiful yarn after washing.

My spinning companion (Abby, my Golden Retriever puppy)!

Sunday, June 16, 2013

Poisonous Plants!

Not a lot going on at the farm...it has been raining cats and dogs for the past week or so!  The bottom field here is pretty much under water, and the rivers are way over their banks.

To kill time and fill space, I thought I'd touch on poisonous plants.  Unfortunately the new pasture area has a few poisonous plants that we'll have to deal with.

The biggest issue are cherry trees.  Any type of cherry tree is poisonous to llamas (and alpacas, and most livestock).  The bark is poisonous at any time, and the leaves are poisonous when they are wilted (such as when a branch breaks off in a storm).  Surprisingly the leaves that fall naturally in the fall aren't poisonous!  In cherry trees, the poisonous agent is cyanide, which the leaves produce when they are "stressed".  Unfortunately for us, most of the cherry trees adjacent to the pasture are ones that can't be cut, due to various reasons (part are on a neighbor's property, and part are shelter for cultivated bees).  So we are fencing the trees out of the pasture area, and will have to be diligent about fallen branches.

Cherry tree leaves.

Mature cherry tree bark.


Another poisonous plant that I recently found is buttercup.  Luckily, it seems like buttercup is usually avoided by camelids, and it is also much less toxic than many other plants.  So for the time being I'm just going to mow the areas with buttercup, in attempt to kill it off naturally.

Buttercup flower and leaf (leaf is the big one bottom center).

There is also a lot of burdock in the pasture, but the poisonous part of that plant is the seed, which is likely to be avoided by any smart grazing animal!

I have seen a lot of milkweed in other parts of the property, but nothing seems to be growing in the pasture.

So that's a little bit about the poisonous plants that I'll have to deal with here on my New York farm.  If you want a more comprehensive list of poisonous plants for camelids, I suggest this site: http://www.c-r-alpacas.com/Alpaca%20Tips/plants_that_are_poisonous_to_alp.htm.

Saturday, June 8, 2013

Fence Progress and Farm Update!

Well I was originally planning to post about all the great fence progress we were making, but the llama transport plans fell through last week (long story...), so the fence building has slowed down.  Still lots of pictures to share though!

The first step in putting up the fence was to measure and stake where posts would go.  I decided to do 2/3 T-posts (steel), and 1/3 wood posts, with wood braced corners.  The corner brace posts are 8ft apart (the brace posts are 8ft long), and the line posts are 16ft apart.
One corner of the pasture, where the gate will be going.

Such beautiful grass!

We also worked on removing the stanchions in the barn.  It is hard to see here, but one section has been un-bolted, and is leaning on the barn supports.  It's going to take more than me to move it, so it is still in this state, waiting for two stronger men to help!
Dirty dirty barn...but slowly making progress!

Speaking of the two stronger men, they along with their handy tractor managed to move one of the lawn rollers that was in the field.  We hauled it off to the scrap yard and got $40 for it!  There's still one more to move...
Loading the lawn roller into the truck bed with the tractor's front loader.

$40 worth of rusted steel!

Then came moving the huge telephone/power line poles that were lying in the pasture!  No idea why they were there, but they were in the way!  The tractor also came in handy for this.
Using the front-loader to roll the poles off the pile for better access.

Dragging poles with the tractor and a chain.

"After" moving all the poles.

Now we can finally bush-hog all that grass!

The new pile of poles!  At least they are out of the way now...

And finally it came time to start digging posts!
Digging the first post hole!

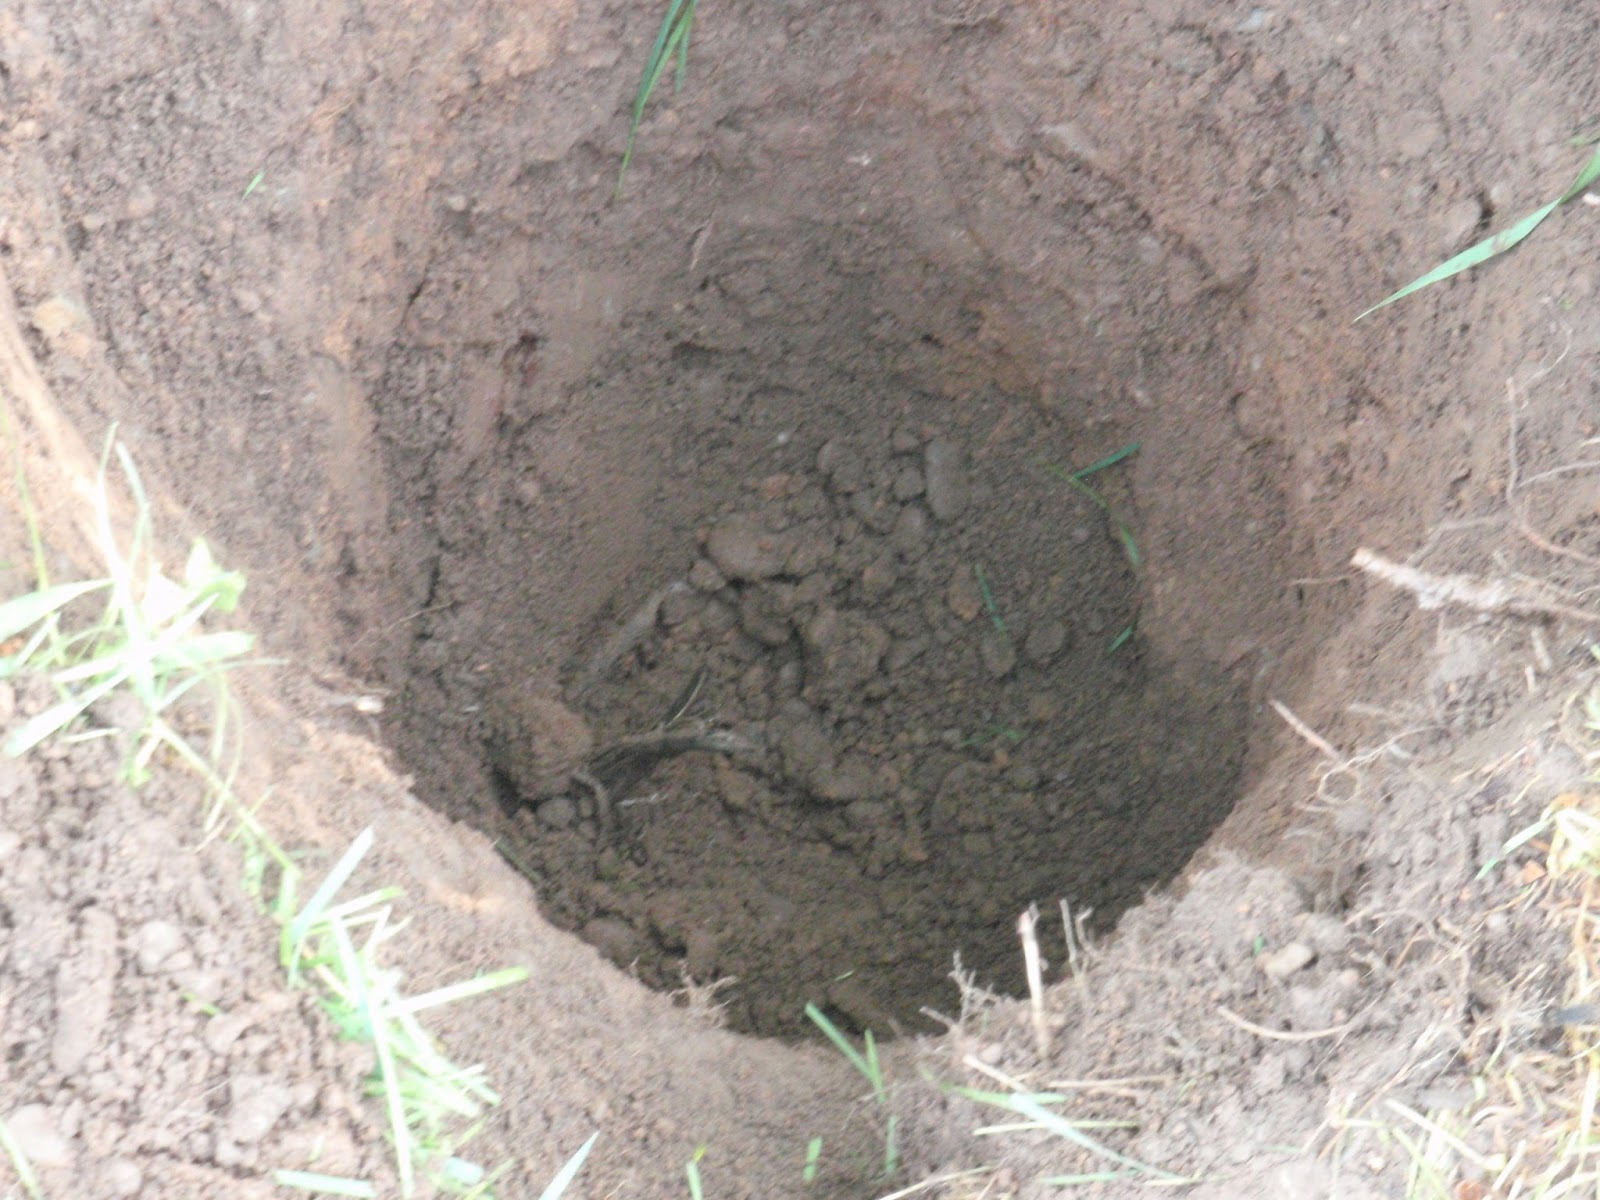
Of course the first one that we dug...we hit electric cable and barely missed the water line!  So that day was shot, spent the rest of it fixing the cable, and the next day burying it.
Look close...there are 4 electric cables in there!

Close-up shot.  We had to dig a lot more to find the second half of the fourth wire...it was buried under the water line somehow!

After we widened the hole to search for the second half of the fourth wire.

Then we started again...  We quickly realized that the 36" auger wasn't going to dig the 42" hole that I originally had planned, but we tried to see how far we could get it in...and broke the shear bolt that connects the auger to the motor!  Luckily that was an easy fix...
Broken shear bolt.

And FINALLY we got the first post completely set!  We're using concrete to anchor the corner posts, so after digging the hole, we stuck the post in, and then poured about 20lbs of dry pre-mix concrete into the hole, added some water, and then repeated for another 20lbs of concrete.  We filled the remaining hole with dirt, and then used a post level to make sure that the post was straight.

Finally a good straight hole!

Our first post!
We now have 1 post completely set, and 3 more dug and in the holes (without concrete).  Now the setback is getting a new drill that is strong enough to drill a hole all the way through a 6-7" post for the brace pins.  Once we get that we'll be back in business!

Sunday, May 26, 2013

Running Fecals

Well, the weather has been downright nasty this past week in upstate NY, so I don't have much progress to share on the barn/fencing front.  The week started off as super hot, followed by lots of rain, and ended with super cold and rainy...not fun!  But the weather is supposed to turn nice tomorrow, so hopefully we can get started finally!

Anyway...I decided instead to talk about something fun you can do indoors...running fecals!  When my family first got llamas, running fecals was never discussed.  We were told by our mentor farm that we should deworm the llamas 4 times a year, and use a different dewormer every time to reduce resistance. After a few years we decided to do our own research, and realized how bad this advice really was!  We started sending fecal samples to our vet every few months, rather than deworming everyone.  The vet also suggested NOT switching medications every time, but instead use the same medicine 3-4 times, and then switch to something else.  After a few more years of sending samples to the vet (at $20 a sample, it wasn't cheap!), and not really being satisfied with the results we were getting, I started doing even more research on the subject.  Once I found the wonderful resource that is Alpaca Nation, I learned that alpaca breeders around the country were starting to run their own fecals, and were getting better results than most vets.  I also learned about parasite resistance and how to choose which medication was best for which types of internal parasites.  So I decided that I was going to start running my own fecals, and see if I could save some money and get better results than the vet!

After more research on Alpaca Nation, I decided to buy a microscope and centrifuge, as well as the various supplies needed to run the fecals at home.  Some of the basic supplies are:

  • microscope (with a movable stage if possible)
  • centrifuge
  • test tubes that will fit the centrifuge (mine are 12 mL)
  • glass slides
  • glass cover slips
  • popsicle sticks
  • paper/plastic cups
  • tea strainer
  • gloves (latex, rubber, vinyl, etc.)
  • plastic baggies or small tupperware containers
  • float solution (saturated sugar solution in water)
My supplies all set out to use!  From L to R: tupperware containers with liquid fecal mixture, sugar float solution, strainer and paper cup, test tube rack with tubes, and centrifuge.

And if you haven't caught onto my pattern yet, I went BACK to Alpaca Nation to figure out the best method for actually running the fecals.  The methods I use are a compilation from a few different people, and have been changed a bit in the 4-5 years that I've been running fecals.  The methods that I'm currently using:
  1. A day or two in advance, make up the saturated sugar float solution.  You can also use a saturated Epsom salt solution, or even buy prepared solutions, but this seemed easy and cheap, and was widely used.  Heat 12 oz water, add 1 lb sugar, and stir til the sugar is dissolved.  Allow the solution to cool, then store in the fridge.  I like to allow the solution to warm to room temperature before using.
  2. Collect your samples.  I tend to go out in the evening after we feed (which only works in the winter, summer is harder since not everyone gets grain), or sometimes I catch everyone and take them to the pile one by one.  Ideally you should collect samples from everyone, but I realize that isn't always possible.  I've been lucky enough for the past few years to have exactly 6 animals, and my centrifuge holds 6 tubes!  If I had a large herd, I would take a representative sample, and probably take more samples from "at risk" groups, such as new moms, weaned babies, older animals, etc.  When I take samples from the pasture, I turn a plastic baggie inside out, and use it as a scoop to collect 5-6 beans from each animal.
  3. Next is the overnight soak.  The best new tip I have is the importance of weighing samples.  Beans can vary widely in weight, so the only way to be able to compare an animal's parasite load over time is to start with the same amount of material, and follow the same procedure.  I've started using 3 g of fecal material for testing.  I place this in a small tupperware container (or a new baggie works too), and then add 15 mL of water.  Mix up the beans as much as possible, and let sit overnight (preferably outside in the cold or in the fridge).
The LABELED tupperware containers filled with 3 g fecal matter and 15 mL water.
  1. After a soak of 8-16 hours, I start the bulk of the procedure.  The next step is the first spin.  I pour the liquidy sample through the strainer, into a paper cup.  The contents of the cup goes into a clean test tube, the solid stuff in the strainer gets discarded.  Sometimes not all of the liquid will fit, and sometimes I need to add more water to get the same amount of liquid in each tube.  It is very important that all the tubes have the same amount of liquid, otherwise the centrifuge may get off balance.  I spin the tubes for 15 minutes.
Straining the liquid solution into the cup.

Filling the test tubes with the liquid solution.
  1. After the first spin, I pour the liquid out of the tubes (and discard), and add the sugar float solution (again, the same amount of liquid in each tube).  I mix the solution with the remaining fecal pellet in the tube, and then centrifuge for another 15 minutes.  The parasite eggs have a higher specific gravity than water, so they sink in the first spin.  Thus, the water poured off shouldn't contain any eggs.  The sugar solution has a higher specific gravity than the eggs, so it makes the eggs float.  The liquid after the second spin should contain the parasite eggs.
  2. I have a fixed rotor centrifuge, so I don't feel comfortable filling the tubes all the way while they are in the centrifuge.  Thus, I have to add more sugar solution after the second spin, in order to get a meniscus (bubble of liquid) on top of the tubes.  After the second spin I add the sugar solution little by little until a little bubble appears on the top of the tube.  I place a glass cover slip on top of the tube, and it should come in contact with liquid on the top of the tube.  If liquid spills over, I dab at it with a paper towel so that it stops spilling.  There's a bit of discrepancy in how long to let the cover slip set on top of the tube...  Originally I did a 1 hour float, which seemed to work well, but a recent recommendation has me now running a 4 hour float.  In the future I want to do my own comparison and see how which is actually better.  You could even let the cover slip sit overnight, but the heavier eggs tend to sink faster, so you may not see as many of them.
Filled test tubes with glass cover slips.
  1. After the float time is up, I remove the cover slip and place it on a glass slide.  I label my tubes and slides with the numbers 1-6, and each number corresponds to a specific animal.
  2. Then the fun part...reading the slides!  Starting in one corner, I work back and forth across the slide, zig-zagging my way to the opposite corner.  You will want to move slowly so that you observe and count every egg visible on the slide, and don't miss anything.  I typically use the 10x magnification lens.  I make tally marks on paper to count the number of eggs I see for each type, and then add them up at the end.  If you weigh out your sample at the beginning, you can divide that number by the number of grams you started with to get a EPG value (eggs per gram).  (Sorry, these pictures aren't as zoomed as I had hoped...)
A view through the microscope.  The green/yellow stuff is digested vegetable matter (grass/hay), the big silver/black dot on the right is an air bubble, but the three small grey ovals are strongyle eggs.

More plant matter and a bubble, with a nematodirus egg in the middle.  These are quite a bit bigger than the strongyle eggs.
  1. The last step is the hardest...deciding who to treat and with what!  This is very subjective, and I definitely suggest you involve your vet!  For me, a lot depends on the physical health of the animal, and what their parasite load was in the past few months.  If I had a young animal who had a sudden increase in parasite eggs, I would probably treat at a lower level than if the animal was fully grown and had a fairly constant level of eggs.
    1. Some parasites are more dangerous than others.  Typically strongyles aren't considered as dangerous, but if you see a really high load, you should consider the possibility that the animal has Barber Pole worm (Haemonchus).  It is a very nasty strongyle that causes anemia and often leads to death.  Unfortunately, it is impossible for the naked eye to distinguish between barber pole and a less-dangerous strongyle, so samples must be sent to Oregon State or the University of Georgia for specific testing.  Barber pole is now fairly wide-spread, and very easy to pick up at shows...  E. mac is a more dangerous type of coccidia, which is also important to watch for.  Small coccidia are not quite as bothersome, unless a young animal has a very high load.  Nematodirus and trichuris are two more that are typically treated even if the load is light.  Tapeworms are one of the few internal parasites that are almost impossible to see in a fecal, but they are very obvious in the manure piles so they are easy to spot.  Most vets don't worry about treating for tapeworms, but I liked to get rid of them just for my peace of mind!
    2. What you decide to treat with can also be dependent on which animal you are treating, as well as what part of the country you are in.  In most areas, ivermectin is no longer effective against internal parasites due to being overused to prevent Meningeal worm.  Safeguard/Panacur is becoming less effective, unless given at very high doses.  Valbazen is still fairly effective (we have seen resistance in strongyles, but it works for nematodirus and trichuris), but should not be given to young animals or bred females.  I love using Equimax to treat tapeworms, but I haven't tried it for anything else.  Strongid may also work for strongyles, but I haven't used it in years.  One of the new "big guns" for strongyles (Barber pole in particular) is Quest.  It worked great for us in eliminating a load of strongyles.  For coccidia, different meds are required.  Corrid is the old standard, but you should supplement with vitamin B.  Albon is what we typically used, and it seemed to work well.
Now that I'm running fecals on my own, I like to do them as frequently as possible, and treat as infrequently as possible.  I typically try to run fecals a few weeks following the last show of the season, again in early spring, and in early summer.  If I had a large breeding herd, I would test new moms a few weeks after birth (there is a lot of evidence in other livestock that parasite loads increase after birth), and weanlings a few weeks after being separated (again, evidence that stress increases parasites).  I would also test my show string at the end of show season, and any breeding animals that left the farm.  As far as when to decide to treat, I try not to medicate my animals too often.  No animal should ever have a totally clean fecal (otherwise something was wrong in your procedures), and you need to figure out what each animal's "baseline" levels are.  Pay attention to external symptoms (weight loss, anemia, diarrhea, etc.), and combine those with your fecal EPG values to determine who needs to be treated.  If an animal has very high levels, I will typically treat no matter what.  But if the animal has borderline levels, I will usually wait a month or so and run another fecal...if the level is about the same (or hopefully lower), I wont' treat, but if the level has increased, I will treat at that time.

Hopefully this has helped convince you to try running fecals on your own!  The first time I ran them myself I was convinced...I split samples and sent half to the vet, and ran half on my own.  The vet told me that the samples were all clean, but I was finding several parasite eggs (of a few different types even!) in each sample.  After that I knew I would never send them to the vet again!

There are some great resources out there for fecal protocols and parasite identification.  Here are a few of my favorites:
I haven't really found a "one stop shop" for treatment options.  I prefer to search Alpaca Nation or the Facebook group Paca This and see what vets are recommending for other farms.  I don't always trust my vet to be completely up to date on what medications are working, but hopefully you are luckier than I am!

Thursday, May 16, 2013

Shearing Part 2!

Well, I managed to get a LOT of pictures of the process of shearing Kara, which I talked about in length in the last post.  Now you get to see the rest of the herd!

I'll warn you, I'm not the best shearer in the world.  Plus none of my animals are going to shows this year (boo!), so they don't have to look super-awesome!

First to set the scene...This was the view from our front yard back in Indiana, the first week of May.  It was gorgeous, but it did rain more than I'd like.  Hence I had to get 5 llamas shorn in 3 days!


Next, the "before" shots...

Kara was by far the dirtiest (maybe T...it was close!).

Bluff has nice white fleece that somehow always stays clean.  She was easy!

This guy was a nightmare!  On top of everything I body sheared him, so I tried getting his neck and legs clean, which was a lost cause.

Good old Ralph and April...  Poor Ralphie hasn't been shorn yet.  I thought I had an alpaca breeder lined up to shear him, but it seems to have fallen through.  Now it looks like a llama breeder friend is going to shear him!  And you can't see April's barrel, but is is ALWAYS clean!  Normally it is wasted since I don't use her fiber, but not this year!  I actually groomed and washed her like the rest of the llamas (though I forgot to blow her out), and am going to have her fiber (along with part of Ralph's and Bluff's) made into felted insoles for shoes!  Such a cool idea!

And last but not least, Duque!  Like Bluff he stays pretty clean (the one upside of double-coated llamas!), and he is very easy to clean.

Duque's gorgeous fleece, after a bit of grooming.

Here's Bluff after grooming, waiting for her bath.

Now to the "after" shots!

Poor Duque got the worst haircut!  In a month you'll never know how terrible it looked at the beginning though!

April looks pretty good if I say so myself.  Even though she really didn't want to cooperate for some reason...

Beautiful "baby" Kara.  Her cut wasn't as good as I hoped, but it is nearly impossible to get a smooth cut with such a fine fleece!  She feels a lot better now though, and that's the most important part!

Bluff is the only one with a really nice cut.  There are a few rough spots, but again in a month she'll look awesome!  She will probably be shown by her new owner, so I wanted her to look good!  This is the first time in several years that I haven't body shorn Bluff...she's moving to New Hampshire in June, so she won't have the Indiana heat and humidity to deal with.

And last but certainly not least...Mr. T.  By most people's standards he probably got the worst haircut, but I think he looks awesome!  His neck and legs were incredibly matted, so I wanted to get that fiber off.  Now I can body shear him every year and use 100% of his gorgeous fiber!  The funny patch on his side is for walking fleece shows, even though he won't be going to any this year unfortunately.

Now I have lots of bags of beautiful llama fiber to play with!  I explained already what I'm going to do with April's fiber.  Duque and Bluff's fiber (from this year and last year) is going to get blended with a purchased alpaca fleece and a purchased Bluefaced Leicester (sheep) fleece, and get made into a grey roving.  Kara's will be spun into yarn that has been pre-purchased, and T's fleece was also pre-sold and has already been sent to the lucky recipient!  Ralph's fleece is pre-sold as well, and will go out this fall.